
On this page
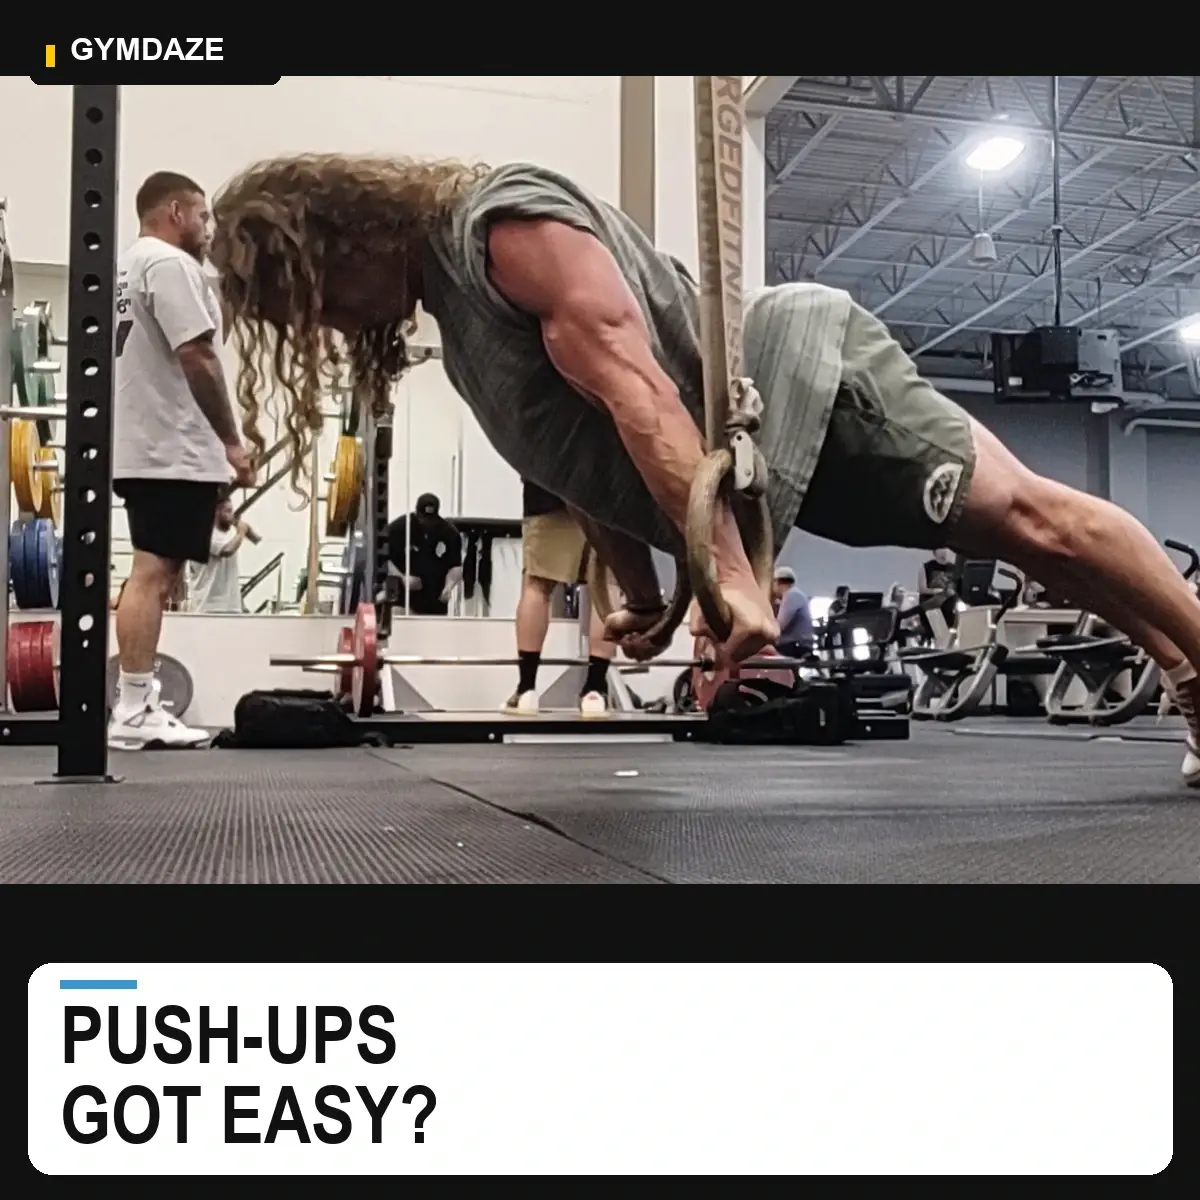
If you can't do a controlled push-up on the floor yet, raise your hands. Start at a wall or a secure elevated surface and find the hardest angle where your chest and hips can move together through a repeatable range. Use that version for your working sets.
Wall, incline and knee push-ups all let you adjust the difficulty of the pressing movement. The video shows each option and the changes to look for. You don't have to keep attempting the same failed floor rep until it suddenly works.
Find your starting point with five controlled reps
Begin at the wall. Try five reps, then move to a harder version if those are easy. Rest between attempts so fatigue from one test doesn't decide the next result.
Use this order as a menu:
- Wall push-up.
- High incline, using a fixed counter or a securely set rack bar.
- Lower incline, using an appropriate stable support.
- Knee push-up.
- Floor push-up.
The knee version may feel easier or harder than a particular low incline. Your proportions and the actual support height change the comparison. Research on push-up mechanics documents different loading characteristics across many variations, but it doesn't establish one universal ladder for every person and setup.
At each level, watch whether your hips and shoulders move together, whether the range stays consistent, and whether both sides move under control. Rep five should still resemble rep one. Stop testing harder versions when those qualities disappear.
If you get two messy floor reps but can perform a useful set on an incline, train the incline. You need a movement you can repeat across sets, and you can test the floor again after the lower inclines improve.
Wall push-ups: move your body toward the wall
Put your hands around shoulder height and roughly shoulder width apart. Step the feet back until the movement takes some effort. Keep your body long as you bend the elbows and bring your chest toward the wall.
The common mistake is leaving the hips behind and reaching with the face. Watch your whole body from the side if you can. The head, ribs and hips should travel together, then return together as you press away.
Stay at the wall if moving to a counter makes you fold at the hips or lose most of the range. You can change the foot position in small steps before choosing a different support.
High and low inclines let you make smaller changes
Use a surface that won't slide, tip or collapse under your weight. A rolling chair or an unsecured bar isn't suitable. Start with enough height to perform controlled reps, with your body in a line from head to heels.
Bring your chest toward the support. Let the elbows move back on a comfortable diagonal, then press away while your hips come with you. Choose a hand width that lets you repeat the movement comfortably; there isn't one exact elbow angle everyone must force.
As you improve, lower the hand support a little. A secure rack bar that moves one notch at a time is useful for this. If you use stairs, check that the step above won't obstruct your head and that your hands and feet have firm contact.
A low incline can feel much closer to a floor push-up than a kitchen counter does. That intermediate height is often what you need when the counter is easy but the floor still falls apart. Keep the movement consistent while changing the height.
Knee push-ups work when your hips come with you
Start with a straight line from your knees through your hips to your shoulders. Lower your chest between your hands while keeping that line, then press up with the hips and shoulders rising together.
If you push your hips backward while your shoulders barely move, you've changed the exercise. Bring the body back into line and use a smaller controlled range or an incline if needed.
An incline keeps the head-to-heel position and often gives you smaller loading adjustments. Knee push-ups may fit your available space better. Use the one you can control and progress, then record which version you used.
When you try the floor
Set up with your hands around shoulder width or a little wider. Lightly tighten your abs and glutes to hold the plank position. Lower your chest between the hands, then push the floor away without letting your hips lag behind.
Use a comfortable range you can repeat. If the last part of the rep comes from sagging at the hips or reaching with your neck, shorten that attempt and return to a higher hand position for your working sets. You can build more pressing range there.
Keep the support stable at every level. Sharp or worsening joint pain is a reason to stop and adjust, not a cue to force the next rep. If symptoms persist, get individual guidance before continuing to increase the difficulty.
Turn that level into a short workout
The video's starting plan is two or three sets of six to twelve reps, three times per week. Rest roughly ninety seconds to three minutes between sets, taking longer when you need it to repeat the movement well.
These are practical targets. Select a version that makes the set demanding, and stop when another rep would lose the form you're trying to practice. Six controlled reps can be a useful starting set. Twenty effortless ones are a reason to test a harder angle.
If you already have pressing in your program, count this work as part of it. Don't automatically add three extra push-up days to an existing chest and shoulder routine. This is a way to train the push-up, not a complete plan for the rest of the body.
Progress when you can repeat the top of the range
Keep the current level while you bring the later sets up. If you're doing three sets and record twelve, ten and eight, stay with the same setup. Once every set reaches twelve with the same controlled range, try a slightly harder version at the next session.
Change one thing, such as lowering the support one notch. If that leaves you with only one or two controlled reps, the step was too large. Find an intermediate height and keep training there.
Log the surface height or variation along with your reps. That makes progress visible even before you have a floor push-up. The Calisthenics Explorer lets you follow the exercise routes and check demonstrations. Once regular push-ups are comfortable, the harder push-up guide covers the next choices.
Common questions
Frequently asked questions
Are knee push-ups always harder than incline push-ups?
No. The incline height, your body proportions and the way you perform the movement affect the comparison. Test the available versions and use the hardest one that permits controlled, repeatable reps.
References