
On this page
- What a $200 home gym can realistically do
- The mistake that makes cheap home gyms useless
- The best $200 home gym shopping list, in priority order
- Two smart versions of a home gym under $200
- Version 1: Fat loss and general fitness
- Version 2: Muscle gain and strength focus
- Bands: which type gives the most value
- Pull-up bar: doorway vs freestanding
- Flooring: cheap ways to protect floors
- Bench: when it is worth it and when it is not
- Cardio: what is worth buying vs just walking
- The best apartment-friendly home gym setup
- The one-corner layout
- Storage tricks that keep it from looking like a mess
- Noise reduction and floor protection
- The core movements you need
- Example 3-day plan
- Day 1
- Day 2
- Day 3
- How to keep progressing without buying more equipment
- Common mistakes to avoid
- Buying gimmick gear
- Buying too many random light items
- Skipping the one item that makes progression possible
- Not measuring your space before buying
- Trying to build the perfect gym immediately
- The real goal of a $200 home gym
- FAQ
- What if I already have one piece of equipment?
- What is the best single item if I can only buy one thing?
- How do you train legs at home without heavy weights?
- What is the best home gym setup for a one-bedroom apartment?
How to Build a Home Gym Under $200 That You Will Actually Use
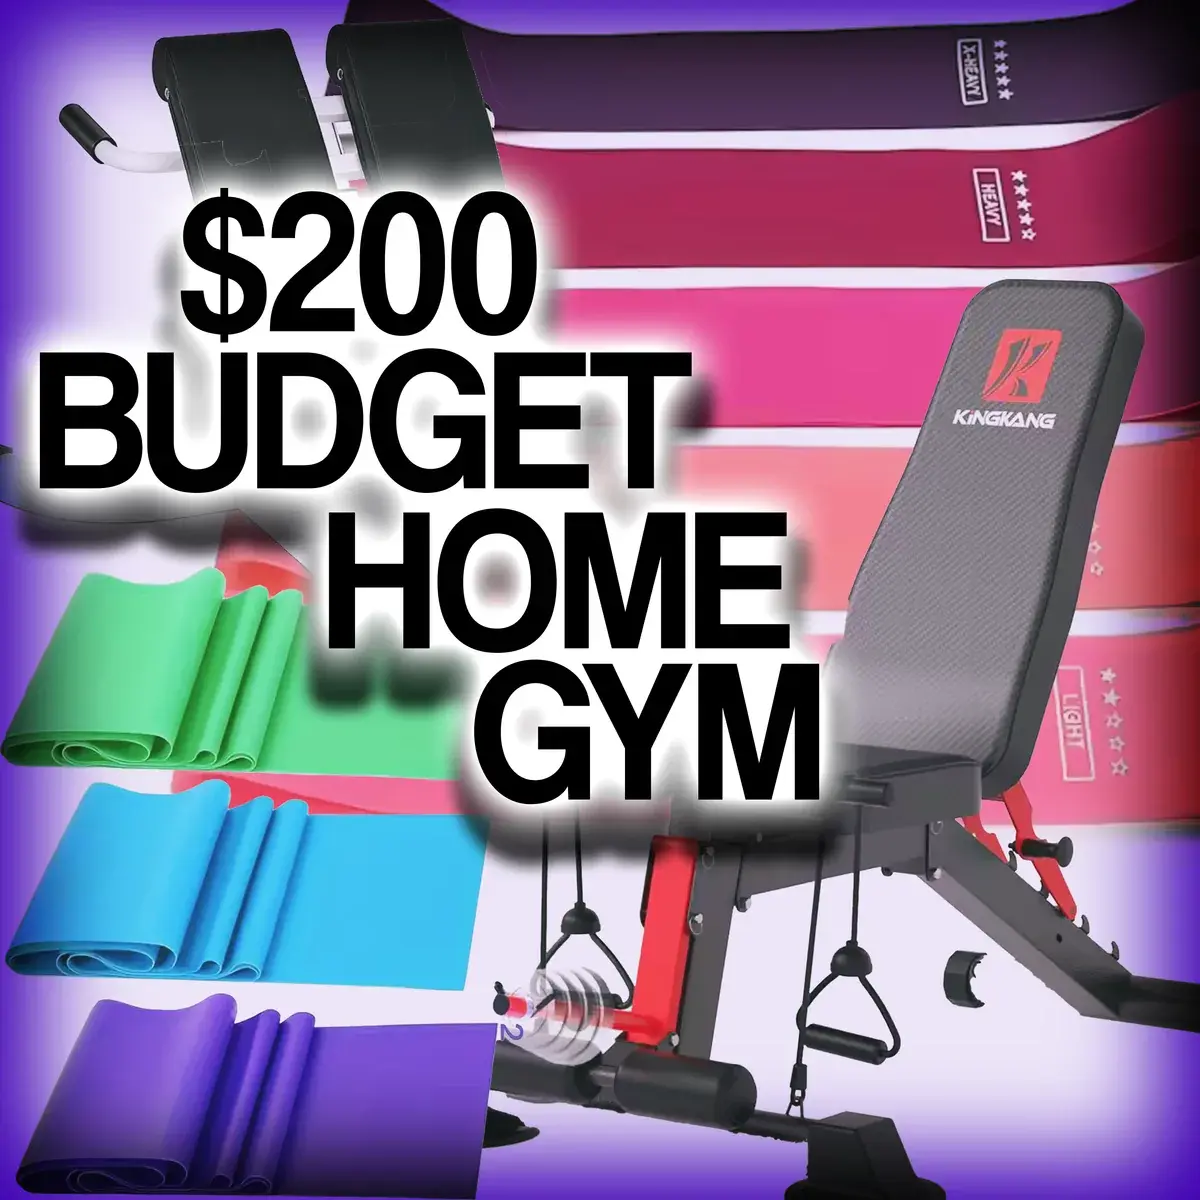
A home gym under $200 can absolutely be worth it, but only if you build it around what you will actually do consistently.
You are not building a complete commercial gym. You are building a small setup that covers the most useful movement patterns, fits your space, and gives you enough progression to keep training after week two. If you get that part right, $200 goes a lot further than most people think. If you get it wrong, you end up with a pile of random light gear that looks productive and does almost nothing.
For most people, the best $200 home gym is built around three things:
- a way to make exercises harder over time
- a small number of movements you can repeat every week
- equipment that is easy to leave out, store, and use without friction
A cheap home gym should cover squats, presses, rows, hinges, carries, and core work. Spend the budget on those movements before buying novelty equipment.
What a $200 home gym can realistically do
At this budget, you can cover a lot more than beginners assume.
A good $200 setup can handle:
- full-body strength training
- basic muscle-building work
- fat loss support
- general fitness
- core training
- conditioning circuits
- apartment-friendly workouts
What it usually cannot do well is replace a heavy barbell setup for advanced strength goals. If you already know you need very heavy squats, deadlifts, or bench press work, $200 is not going to build that kind of gym.
For a beginner, a detrained lifter, someone in a small apartment, or someone trying to train consistently at home, $200 is enough to create a real training environment. That matters more than owning a bunch of equipment.
The mistake that makes cheap home gyms useless
Most cheap home gyms fail because people buy too many low-value items and skip the equipment that makes progression possible.
You see this all the time: ankle weights, ab gadgets, tiny resistance loops, grip trainers, push-up boards, sliders, light bands, maybe a yoga ball, and some random "all-in-one" device that does not load anything meaningfully.
Progressive overload is what turns exercise into training. If you cannot gradually make movements harder, your results stall fast. That is why your first dollars should go toward equipment that lets you add tension in a repeatable way.
The best $200 home gym shopping list, in priority order
If your budget is tight, buy in this order.
- Resistance bands with real tension options
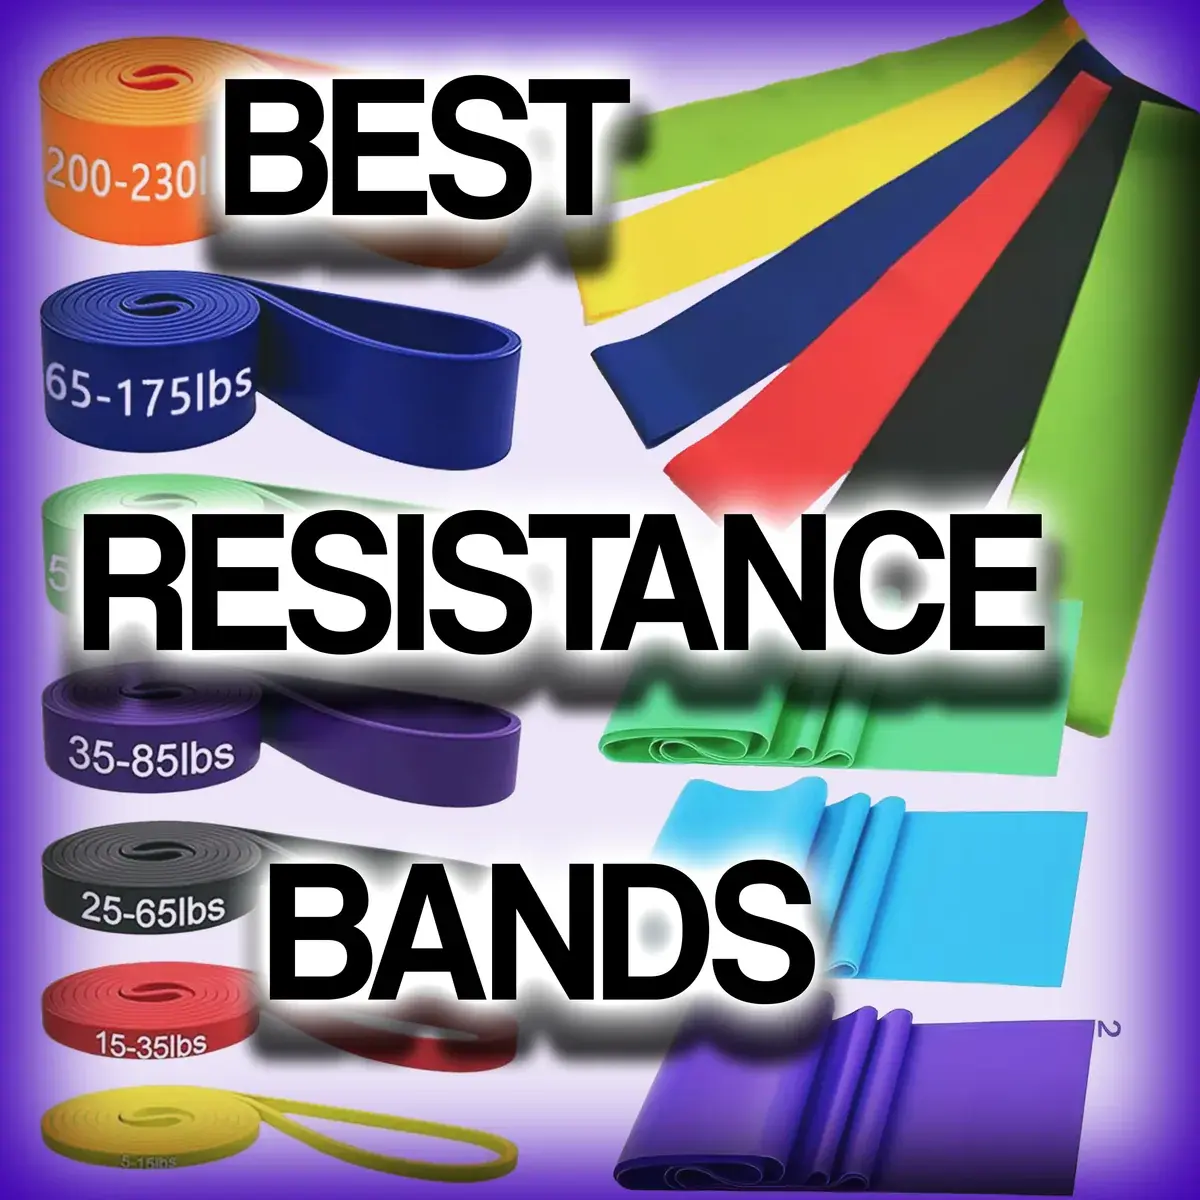
For most people, bands are the best first buy because they are cheap, flexible, easy to store, and useful across dozens of exercises. The best value usually comes from loop-style resistance bands with multiple tension levels, not just the tiny mini bands used for glute warmups. Heavier loop bands can be used for rows, presses, pulldowns, Romanian deadlifts, squats, curls, triceps work, and assisted pull-ups if you have an anchor point.
Why bands come first:
- they give you actual progression options
- they take almost no space
- they work for beginners and intermediates
- they are quieter than most hard equipment
- they fit apartment training well
A practical target here is around $30 to $60 for a small set that includes several tension levels.
My whole article on bands can be found here--> Bands Article
- Adjustable dumbbells or a single adjustable loading option
This is the piece that usually determines whether your home gym stays useful.
At this budget, full premium adjustable dumbbells are usually out of reach. But you can still make smart choices. In many cases, a pair of basic loadable dumbbell handles with plates, or a used pair of adjustable dumbbells, gives better long-term value than buying multiple pairs of fixed light dumbbells.
That matters because 10, 15, and 20 pound dumbbells stop being enough pretty quickly for rows, goblet squats, Romanian deadlifts, carries, and split squats.
A useful target low-end is to put $70 to $120 here, depending on whether you buy new, buy used, or already own some plates.
My whole article on dumbbells can be found here--> Dumbbell Article
- A door anchor, cheap mat, or floor protection setup
A simple anchor point makes bands much more useful. A cheap mat or flooring layer protects your floor, cuts noise, and makes the space feel like an actual training area instead of random gear in the corner.
A practical budget here is $20 to $40.
- Optional upgrade if money is left
If you still have money left over, the best upgrade depends on your goal.
Useful options:
- a doorway pull-up bar
- heavier resistance bands
- extra plates for adjustable handles
- a jump rope if your space allows it
- an ab wheel
- storage bin or vertical rack for a cleaner setup
Less useful options at this budget:
- a bench before you have enough resistance
- tiny fixed dumbbells in multiple pairs
- gimmick ab machines
- bulky cardio gear
Two smart versions of a home gym under $200
The right setup changes depending on your goal.
Version 1: Fat loss and general fitness
If your main goal is fat loss, general conditioning, and basic strength, you do not need much equipment. You need enough resistance for muscle retention and enough variety to keep sessions engaging.
A good budget split might look like this:
- loop resistance band set: $35 to $50
- basic adjustable dumbbell option or one heavier kettlebell/dumbbell: $70 to $110
- floor mat or puzzle tiles: $25 to $40
- door anchor or jump rope: $10 to $20
This version works well for:
- circuits
- full-body sessions
- short conditioning finishers
- step-ups, rows, presses, hinges, and carries
If the goal is body composition, the gym does not need to be fancy. It needs to remove excuses and make the three to four weekly sessions realistic.
Version 2: Muscle gain and strength focus
If your priority is building muscle and getting stronger, most of the budget should go toward load progression.
That usually means:
- adjustable dumbbell handles or the heaviest practical dumbbell option you can manage
- heavier bands for added resistance
- skipping almost everything else
A smart split might look like this:
- adjustable loading options: $90 to $130
- resistance band set: $30 to $50
- floor protection: $20 to $30
This version gives you better progression for:
- goblet squats
- Romanian deadlifts
- split squats
- rows
- floor presses
- overhead presses
- curls and triceps extensions
If muscle gain is the goal, random accessory gear matters less than one loading option that does not become too easy in a month.
Best budget equipment categories, and what to skip Dumbbells: fixed vs adjustable at this budget
For a home gym under $200, adjustable usually wins.
Fixed dumbbells are simple, but they become limiting fast unless you buy several pairs. That adds up quickly, and it creates storage problems in a small room.
Adjustable options are usually the better value because one handle set or one adjustable pair can cover more exercises and more progression steps.
Fixed dumbbells make more sense if:
- you already own a couple pairs
- you only need light accessory work
- you are building around bands and bodyweight anyway
Adjustable makes more sense if:
- you need one main resistance tool
- space is limited
- you want more than beginner-level progression
- you care about rows, squats, hinges, and carries
At this budget, do not obsess over having the perfect dumbbell system. Nicer systems cost way more. Focus on getting enough load to make the main lifts challenging.
Bands: which type gives the most value
Not all bands are equally useful.
The best value for most home gym setups comes from heavier loop bands, not just small fabric booty bands and not ultra-light rehab bands as your main purchase.
Mini bands have a place, but they are usually accessory tools. A good loop band set does more of the real work.
That gives you:
- rows
- lat-focused pulls
- presses
- squats
- deadlift patterns
- assistance or added resistance
- warmups and mobility work
If you can only buy one category first, bands are the safest starting point.
Pull-up bar: doorway vs freestanding
At this budget, freestanding is basically off the table.
A freestanding pull-up station takes too much money and too much space for a $200 build. A doorway bar can make sense if your doorway fits it and your housing situation allows it.
A doorway pull-up bar is worth considering if:
- you have a stable doorway that works with it
- you want pull-ups, hangs, or band anchor options
- your body weight and setup make it realistic
Skip it if:
- you rent and do not trust the fit
- your door trim is questionable
- your current strength level means you would get more value from bands and dumbbells first
For many people, the pull-up bar is a phase-two purchase, not a must-have day-one item.
Flooring: cheap ways to protect floors
You do not need premium gym flooring.
For most people, a simple mat setup is enough. The main goal is to reduce noise, protect the floor from drops and friction, and define the space.
Low-cost options include:
- puzzle mats
- one thicker exercise mat
- a rug layered over a pad
- rubber mat sections in a single training corner
For an apartment setup, even 20 to 25 square feet of coverage can be enough. A 4-by-6 foot area handles most dumbbell, band, and bodyweight work without taking over the room.
Bench: when it is worth it and when it is not
A bench sounds important, but at this budget it is usually not a priority.
A bench helps with presses, rows, step-ups, split squats, and seated work. But if buying a bench means cutting your resistance options too much, skip it.
A bench is worth it if:
- you already have dumbbells or bands
- you found a solid used one cheaply
- your training style really depends on supported pressing or rowing
It is not worth it if:
- it eats a quarter to half your budget
- you still do not have enough resistance
- storage is already a problem
For a sub-$200 gym, the floor is often your bench.
Cardio: what is worth buying vs just walking
This is where people overspend.
You do not need to buy cardio equipment just to say your home gym covers cardio. Walking, stair sessions, outdoor intervals, and bodyweight conditioning can handle that side of the equation for free.
A cardio purchase makes sense only if it removes a real barrier.
For example:
- a jump rope can be useful if you have the ceiling height and coordination
- a step platform can be useful if you will actually use it repeatedly
- a used stationary bike can be a steal, but only if you already found one locally and it does not wreck the budget
What is usually not worth buying under $200:
- cheap treadmills
- tiny underpowered pedal gadgets
- bulky equipment that becomes a clothes rack
The best apartment-friendly home gym setup
If you live in a small apartment, the best setup is the one that takes up one corner, stays easy to store, and does not annoy your downstairs neighbor.
The one-corner layout
You do not need a whole room. You need a small footprint with clear purpose.
A simple layout looks like this:
- floor area: about 4 by 6 feet
- storage zone: one basket, shelf, or under-bed bin
- main gear: bands, dumbbells, mat, anchor
- extra clearance: enough room to press overhead or hinge safely
That size is enough for most standing lifts, floor presses, rows, split squats, glute bridges, planks, and band work.
Storage tricks that keep it from looking like a mess
A home gym gets used more when it is easy to reset.
Simple storage wins:
- keep bands in one bin or hanging hook
- slide dumbbells under a console, in a bin, or under the bed if possible
- leave the mat rolled or folded in the same spot
- avoid buying more small accessories than your storage can handle
Keeping the space clear also makes it easier to start a workout. When setup feels annoying, consistency drops.
Noise reduction and floor protection
For apartment training, noise matters almost as much as the equipment itself.
A few simple rules help:
- avoid dropping weights
- use controlled lowering on every rep
- train on a mat or padded surface
- do step-back lunges instead of jump-heavy work if noise is a problem
- do carries in place or march variations if walking space is limited
This is one reason bands are such a good budget buy. They are quiet, light, and easy on the floor.
A simple full-body training plan that fits a $200 gym
A budget gym only works if you know how to use it.
For most people, 3 full-body sessions per week is the sweet spot. That is enough frequency to improve strength and body composition without needing a huge menu of exercises.
The core movements you need
A good plan should cover these patterns:
- squat
- hinge
- horizontal push
- horizontal pull
- vertical push or pull
- single-leg work
- core stability
- loaded carry if possible
You do not need 25 exercises. You need a few movements that you can repeat, improve, and load.
Example 3-day plan
Day 1
- Goblet squat or banded squat: 3 to 4 sets of 8 to 12
- One-arm dumbbell row or band row: 3 to 4 sets of 8 to 15
- Floor press or push-up: 3 to 4 sets of 8 to 15
- Romanian deadlift with dumbbells or bands: 3 sets of 10 to 12
- Plank: 3 sets of 20 to 45 seconds
Day 2
- Split squat or reverse lunge: 3 sets of 8 to 12 per side
- Overhead press with dumbbells or bands: 3 sets of 8 to 12
- Band pulldown or pull-up variation: 3 sets of 8 to 12
- Glute bridge or hip thrust: 3 sets of 12 to 15
- Carry, march, or suitcase hold: 3 rounds of 20 to 40 seconds
Day 3
- Squat variation: 3 sets of 10 to 15
- Row variation: 3 sets of 10 to 15
- Push-up or floor press variation: 3 sets of 8 to 15
- Hinge variation: 3 sets of 10 to 15
- Curl and triceps superset: 2 to 3 sets of 10 to 15
- Dead bug or side plank: 2 to 3 sets
That is enough to make a budget setup productive.
How to keep progressing without buying more equipment
If you cannot add weight yet, you still have several ways to progress.
- Progress reps first
If you can do 8 reps this week and 12 reps next week with the same load and good form, that is progress.
A simple rule works well:
- start near the low end of a rep range
- build toward the high end
- once you own the top end, make the exercise harder
For example, move from 3 sets of 8 to 3 sets of 12 before changing the setup.
- Slow down the lowering phase
Tempo is one of the easiest ways to increase difficulty without buying more gear.
For example:
- lower over 3 to 4 seconds
- pause at the hardest position for 1 to 2 seconds
- then lift normally
This works especially well for split squats, rows, presses, glute bridges, and push-ups.
- Change leverage
A small change in body position can make an exercise much harder.
Examples:
- elevate feet on push-ups
- use a longer range of motion on split squats
- move from two-leg to one-leg glute bridge work
- hold one dumbbell on one side for anti-rotation challenge
- increase band stretch by stepping farther away
- Combine bands with dumbbells
This is one of the best ways to stretch a budget setup.
Bands plus dumbbells can make common exercises harder without needing much more equipment.
Useful combinations include:
- dumbbell goblet squat plus band around shoulders or feet
- dumbbell Romanian deadlift plus band tension
- push-up plus band resistance
- floor press plus band tension
- row variations with dumbbell and band overload
That lets one moderate dumbbell setup act like a more advanced system.
Common mistakes to avoid
Buying gimmick gear
If the item mainly looks clever rather than loadable, stable, or repeatable, it is probably a bad use of money.
Buying too many random light items
Five cheap accessories rarely beat one real progression tool.
Skipping the one item that makes progression possible
This is usually the dumbest mistake in a budget gym build. People buy around the real problem instead of solving it. Just get bands and dumbbells.
Not measuring your space before buying
A setup that technically fits but is annoying to use gets ignored. Measure the corner, the ceiling, the doorway, and the storage spot first.
Trying to build the perfect gym immediately
A $200 home gym should be treated like version one, not the final form. Buy what solves the current problem, use it consistently, and upgrade later based on what you actually need.
The real goal of a $200 home gym
Build a setup that makes training easier to start and repeat. The best home gym under $200 is usually fairly plain: it covers the basics, fits your room, and gives you a way to progress without adding clutter, noise, or too many decisions. Those are the things that make it worth using.
FAQ
Is $200 enough to build muscle at home?
Yes, especially for beginners and intermediates who do not already need very heavy loading. Muscle gain depends on progressive tension, enough training volume, and consistency. A $200 setup can cover that if you build it around bands, adjustable resistance, and repeatable compound movements.
What if I already have one piece of equipment?
Then build around the gap, not around what looks exciting. If you already have dumbbells, add bands and floor protection. If you already have bands, add a better loading option. The smartest budget is the one that removes the biggest limitation in your current setup.
What is the best single item if I can only buy one thing?
For most people, a solid set of loop resistance bands is the best single buy because it is cheap, versatile, quiet, and easy to store. If you already know you will stick with home training long term, an adjustable dumbbell option may be the better long-term choice.
How do you train legs at home without heavy weights?
Use unilateral work and make lighter loads harder. Split squats, reverse lunges, step-ups, Romanian deadlifts, glute bridges, tempo squats, pauses, and band-resisted variations can all train legs effectively without a barbell setup.
What is the best home gym setup for a one-bedroom apartment?
Usually a one-corner setup with bands, one adjustable loading option, and a mat. Aim for roughly 4 by 6 feet of usable floor space, quiet exercises, and storage that lets everything disappear quickly when you are done.
If you are building your first setup, start with the equipment that gives you progression, not the gear that just fills space. A small home gym works best when each item earns its place.
Once the setup is ready, use the beginner dumbbell workout to put it to work. If you are still choosing the main piece of equipment, compare the best adjustable dumbbells for small spaces.